
Installing a package into a top bar hive
If you want to install a
package of bees into a top bar hive, I recommend that you start
by reading my general instructions for bee
package installation.
This followup posts gives the specifics for top bar hives --- how many
bars you use, where the bees go, feeding, etc. --- but assumes you
understand the basics of hiving a package.
If you're installing a
package of bees into a brand new top bar hive (like our Easy Hive),
you should start by placing ten to twelve top bars between two follower
boards in the center of the hive. Those of you who are using a
golden mean top bar hive might give the
bees only eight to ten top bars for their initial living area since the
golden mean hive is more capacious.
Alternatively, if your
entrance is at the end of the hive, you can use a single follower board
an appropriate number of top bars from the end. Either way, you
might as well install the rest of the top bars on the other side(s) of
the follower board(s), even though the bees won't be using them right
now.
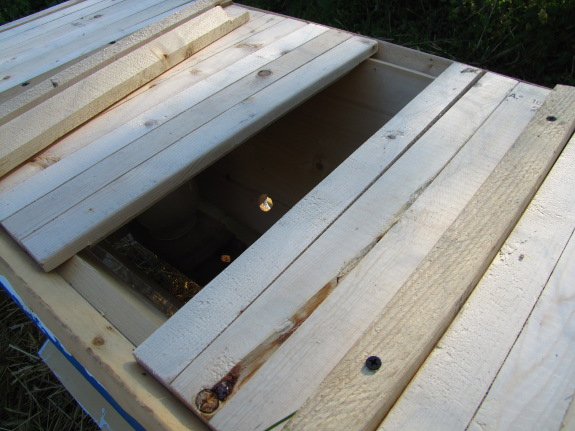
Now that you've put all
of the top bars in, it's time to take some out. I removed two top
bars in the center of the bees' new living area, but wished I'd taken
out three or four to make it easy to pour bees in.
 Next,
consider how you want to feed your bees. A new package will have
to be fed for some variable amount of time to get them off to a good
start. (I hope that more experienced beekeepers will leave a
comment telling me how long they feed new packages of bees since I've
seen very conflicting advice on the internet.) You can read my
post about cooking up sugar syrup here, but you still have to make
a decision on how to get that sugar to the bees.
Next,
consider how you want to feed your bees. A new package will have
to be fed for some variable amount of time to get them off to a good
start. (I hope that more experienced beekeepers will leave a
comment telling me how long they feed new packages of bees since I've
seen very conflicting advice on the internet.) You can read my
post about cooking up sugar syrup here, but you still have to make
a decision on how to get that sugar to the bees.
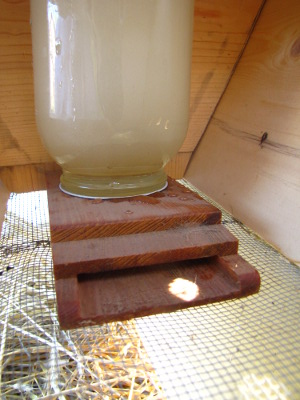
Most people seem to make
baggie feeders by filling a ziplock bag with sugar water, then pricking
tiny holes in one side and placing the baggie in the bottom of the top
bar hive. I don't like disposables, and I have these entrance
feeders leftover from our Langstroth hive days, so I started out by
putting an entrance feeder in the living area of the top bar
hive. I suspect I'll want to make a hole in the bottom of one of
the follower boards 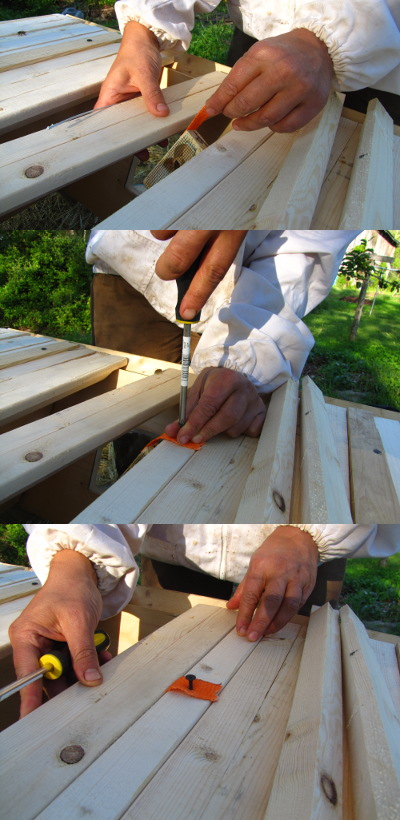 soon so that bees won't build
comb around the feeder (and so I can refill it without disturbing the
girls).
soon so that bees won't build
comb around the feeder (and so I can refill it without disturbing the
girls).
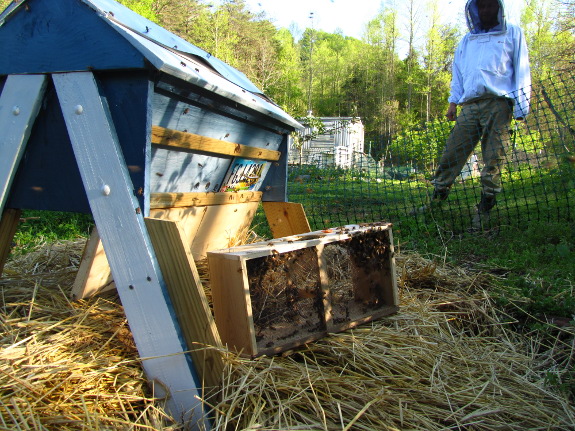
Next, open up the
entrance holes leading into the new living area, and get ready to
install your package of bees! The queen cage goes between two of
top bars in the living area. You can usually just bend a metal
strip over and not worry about attachment, but my fabric strip needed a
screw to hold it in place.
If you have an
observation window, don't make the mistake I did. Face the open
side of the queen cage toward the window so you can watch her escape.
Once you install the
queen cage, push the top bars on either side back into place, leaving a
hole into which you can pour bees.
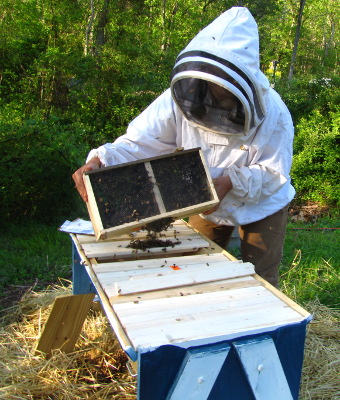
In this photo, you can
see why I recommend taking out more than two top bars to prepare for
the worker bees. I ended up dumping more bees than I wished onto
the top bars rather than into the hive cavity. This wasn't a big
deal (and would have been even less of a big deal if I'd had my bee
brush handy), but the operation will go more smoothly with a larger
opening.
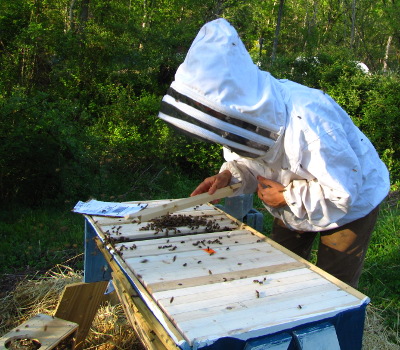
Now you can replace the
top bars you removed to pour in the worker bees. I ended up
gently blowing bees out of the way since I didn't have a brush on
hand. A few bees ended up stuck on top, but I suspect they'll
escape through cracks in the cover.

 Put
the lid on and you're done! Well, until you check on the bees and
take out the queen cage in a few days, which I'll explain in detail
Friday.
Put
the lid on and you're done! Well, until you check on the bees and
take out the queen cage in a few days, which I'll explain in detail
Friday.
This is my first package
install into a top bar hive, so I hope those of you who are more
experienced with the hive will weigh in. Are there any steps
you'd change in my description? Any additional tips?
Don't
know where to start with your homesteading adventure? The
Weekend Homesteader will guide you on your way.
Edited to add: After writing this
post, our bees absconded (flew away) from our top bar
hive. I don't think my installation method had
anything to do with it (see the linked post for ideas on what the
culprit was), but I can't be sure.
| This post is part of our Bee Package lunchtime series.
Read all of the entries: |

Or explore more posts by date or by subject.
About us: Anna Hess and Mark Hamilton spent over a decade living self-sufficiently in the mountains of Virginia before moving north to start over from scratch in the foothills of Ohio. They've experimented with permaculture, no-till gardening, trailersteading, home-based microbusinesses and much more, writing about their adventures in both blogs and books.
Want to be notified when new comments are posted on this page? Click on the RSS button after you add a comment to subscribe to the comment feed, or simply check the box beside "email replies to me" while writing your comment.